How To Change User Role In WordPress
Learn How To Change User Role In WordPress
1. Log in to your WordPress website.
Once you are logged in you will land on your Dashboard
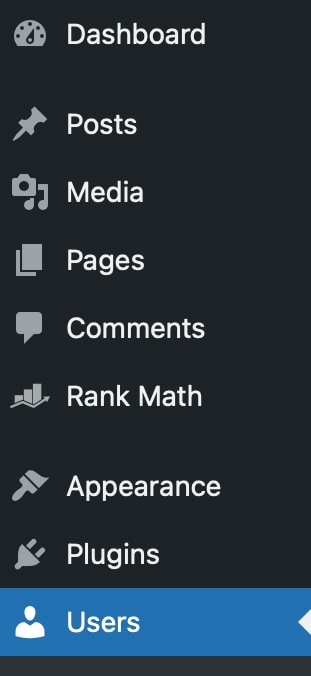
2. On the left-hand side click “Users”
The left-hand side of your dashboard is your command menu for different sections inside the website.
3. Find the user
Once you click “Users” you will notice a “Search Users” button and search bar at the top right of the page. You can search the users email, name, or username.

Once you have found the user click on their username to edit the user.
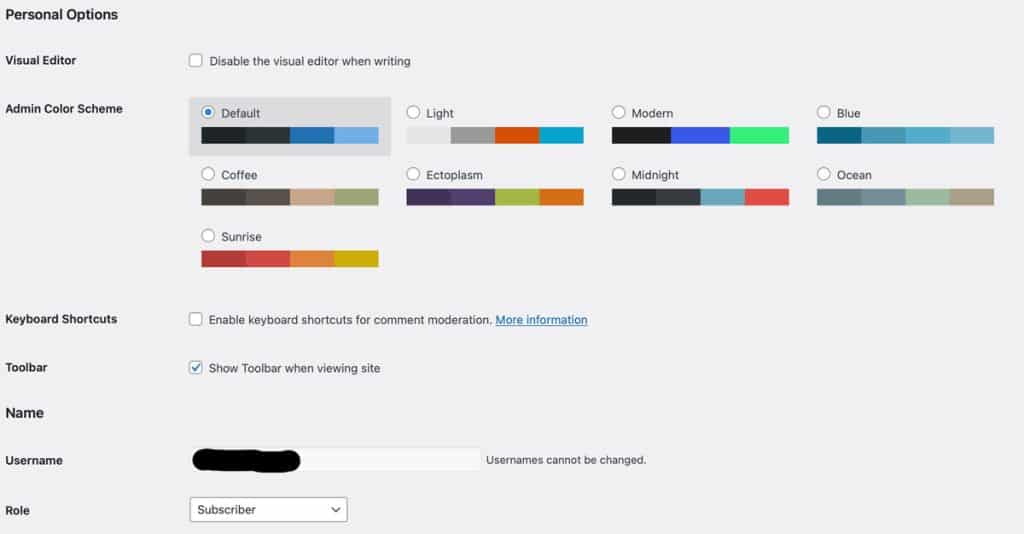
4. Find users role
The page that loads will have all the users current information. As you scroll down you will notice a section labeled “Role” under the “Username” field.
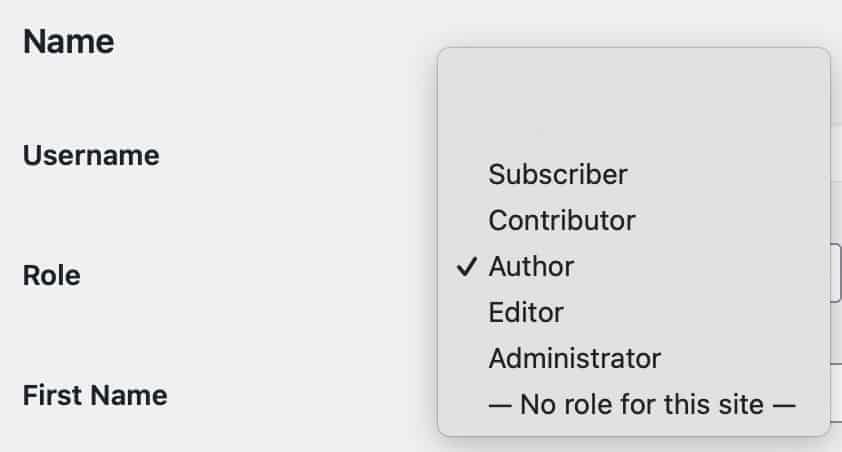
5. Click “Role” dropdown and select the new role
When you click the “Role” dropdown you will notice all the current roles your website offers. Be sure to select the new role you would like your user to have.
6. Be sure to save your changes
Once you have changed the user role to the new role you have selected be sure to scroll to the bottom of the page and click “Update User” on the bottom left. This will save the changes.
If you need our team here at Cahaba Digital to help you with your site you can reach out to a website design expert. We will need just a few things to get started.
- Admin role user
- Link to your WordPress login page
You can find the specifics of how to setup or new admin account in this article on how to setup a new user in WordPress.
